Move a WordPress blog post from one domain to another domain using the 301 Redirect Plugin.
Move The Post To Your New WordPress Site
- Copy the old post details to your new WordPress site by logging into your new site and clicking “Posts | Add New.”
- Content: You should be able to copy and paste the text and title from the old post to the new post.
- Images: You may have to download the images from the old post (Media Library) and upload them to the new post (or Media Library).
- SEO Settings: If you are using a plugin like Yoast SEO, copy and paste the SEO settings from the old post, to the new post.
- Publish Post: Publish the post or save it as a draft until you are ready to publish it. After the post is published on your new domain, you can move on to forwarding the old post and setting up the 301 Redirect.
Backup Your WordPress Site (where the old post lives)
- Backup your site before installing new plugins.
- Login to your WordPress site that contains the post you wish to forward to a new domain.
- Backup your site files and database with a plugin like UpdraftPlus. You can also do it manually using FTP and phpMyAdmin or similar tools.
Install Redirection Plugin
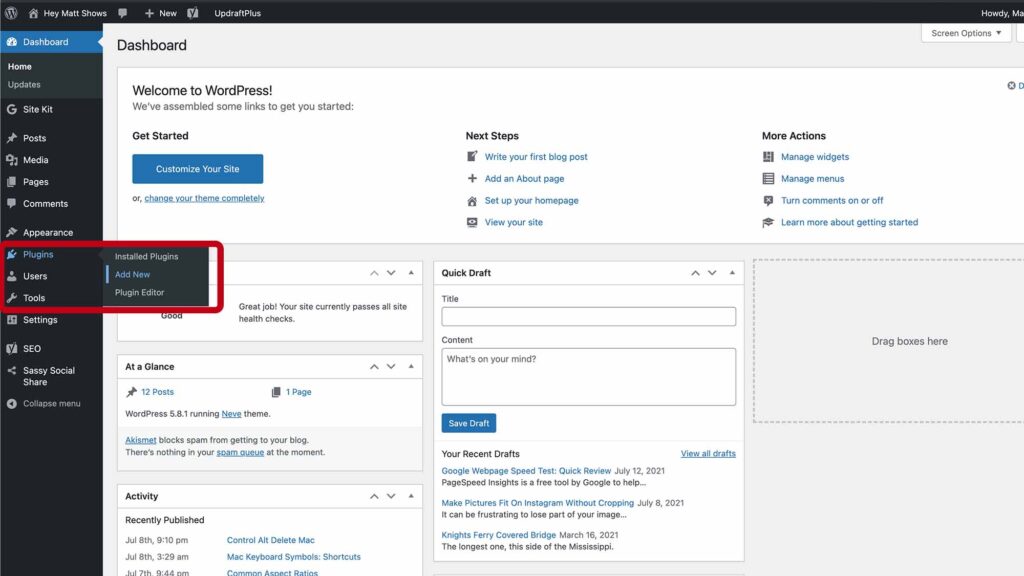
- In the admin, select “Plugins | Add New” from the main WordPress admin navigation.
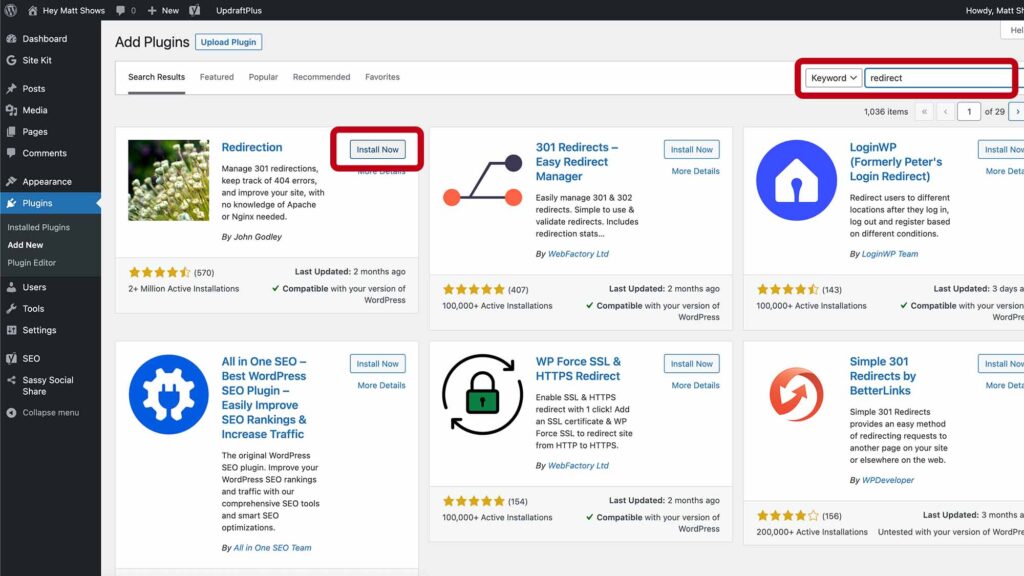
- Type “redirect” in the upper right-hand “Search Plugins” box.
- Find the “Redirection” plug by John Godley (over 2+ Million Installs) and click “Install Now.”
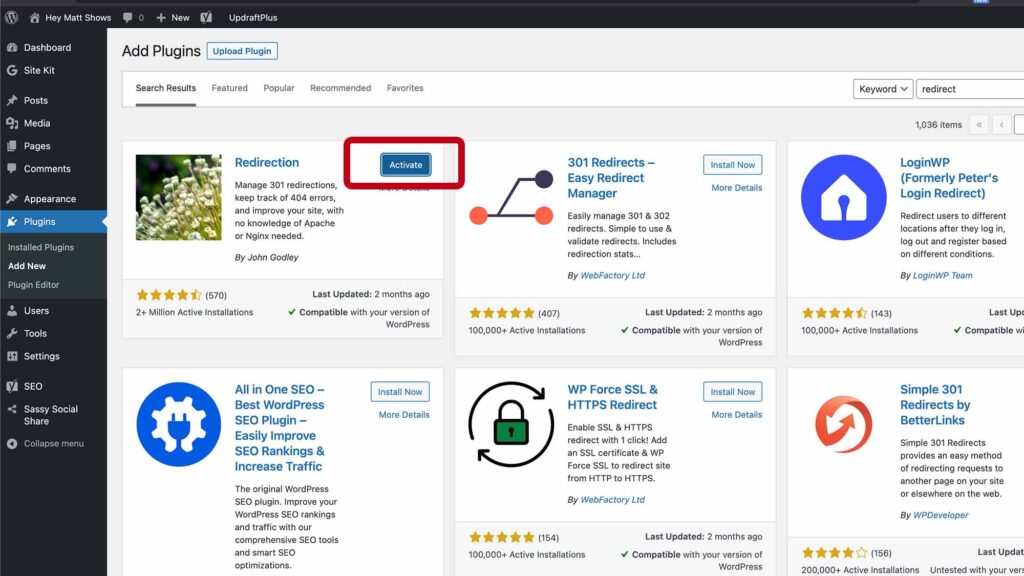
- Once installed, click “Activate.”
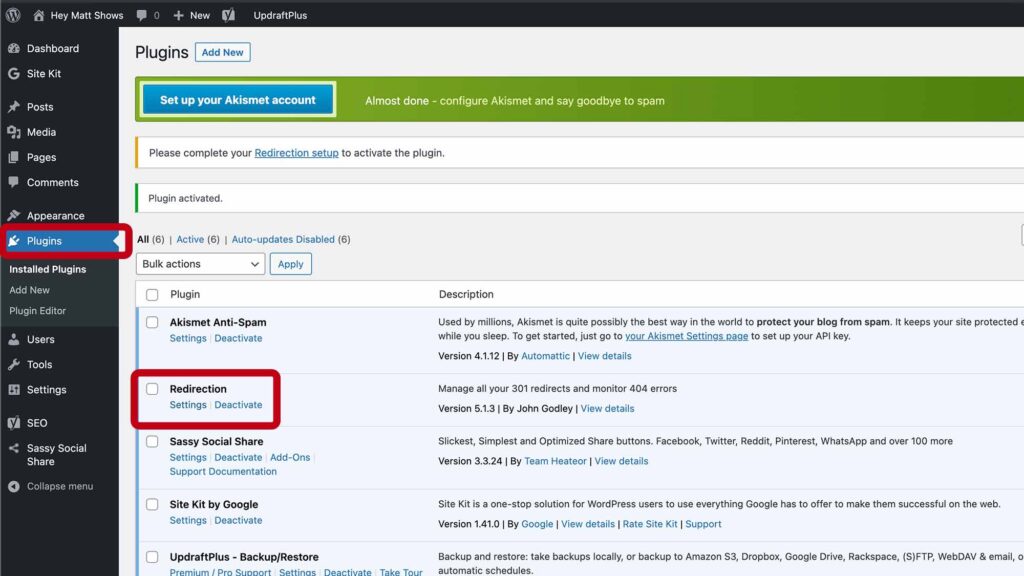
- After activation, you will be redirected to the plugins page. Find the Redirect plugin and click “Settings.”
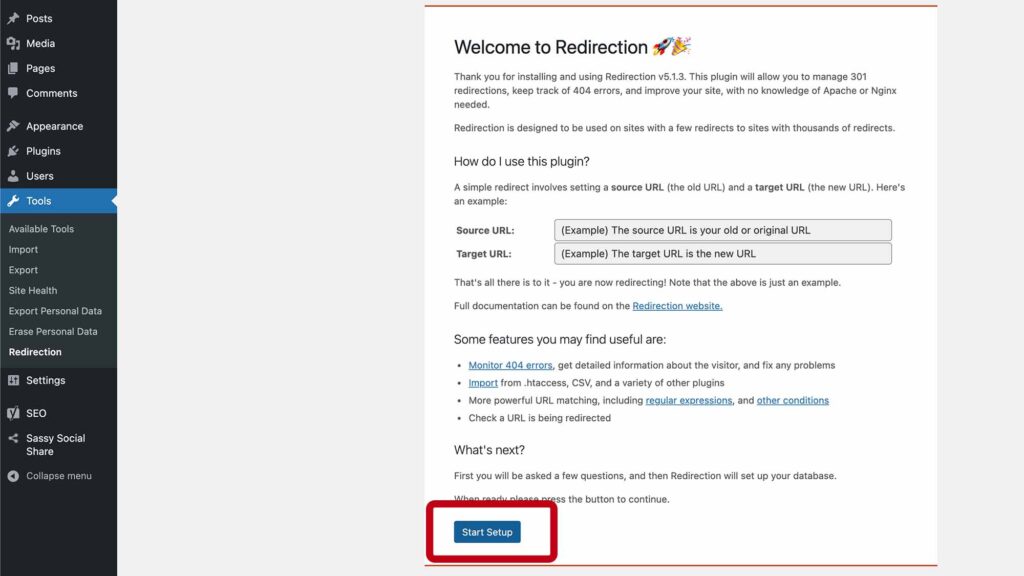
- Click “Start Setup.”
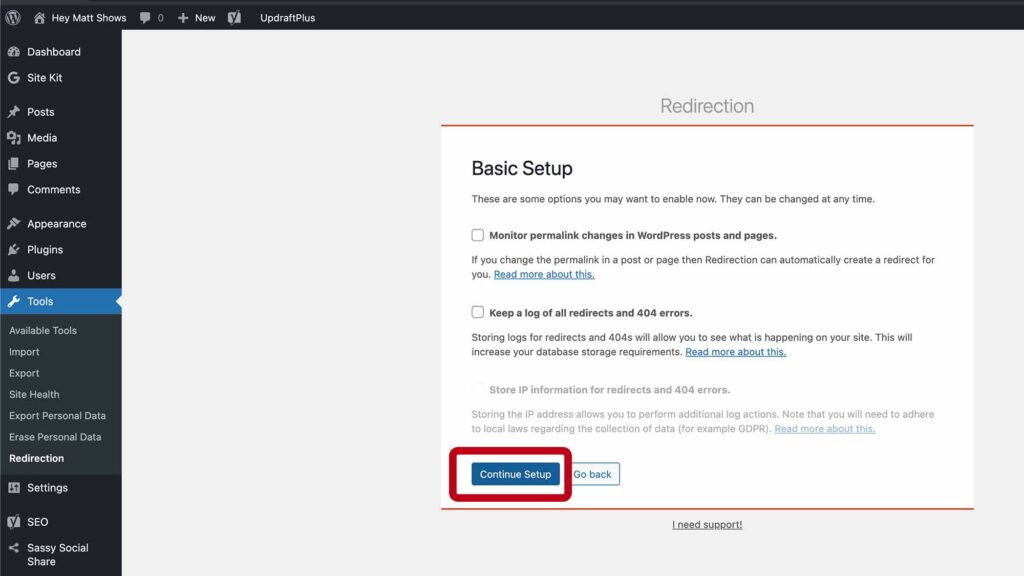
- Then click “Continue” (leave the boxes unchecked on Basic Setup).
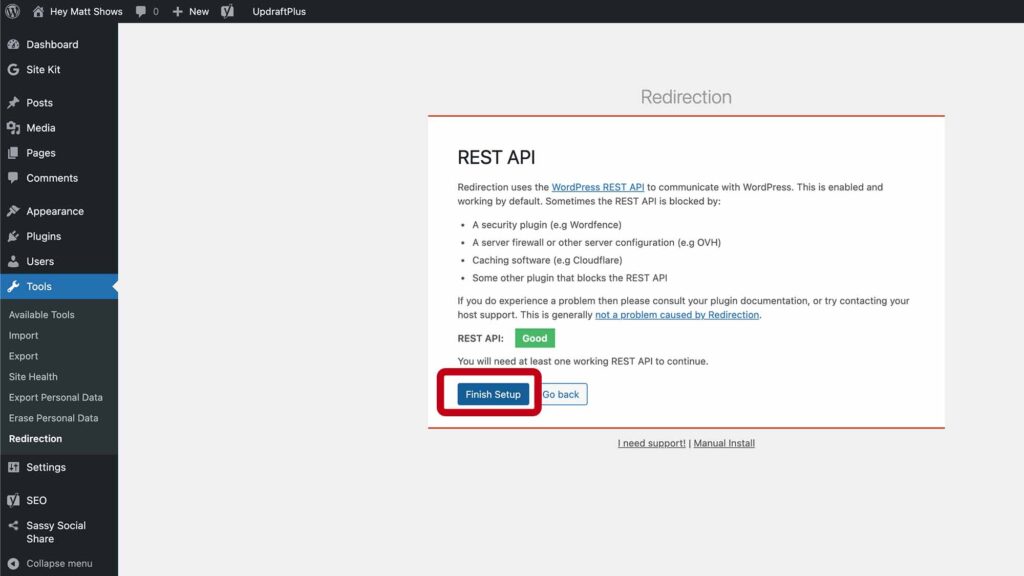
- When the rest API turns green and says “GOOD,” click “Finish Setup.”
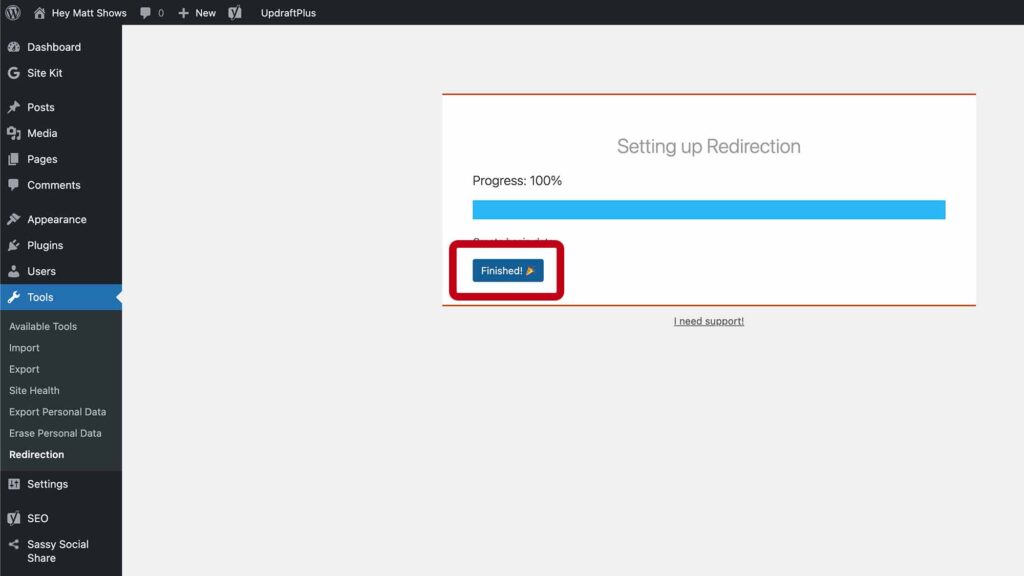
- After the “Setting up Redirection” progress reaches 100%, click “Finish.”
In the next step, you can choose to import redirects or exit. I choose to exit and manually add the redirects as follows:
Add New 301 Redirect
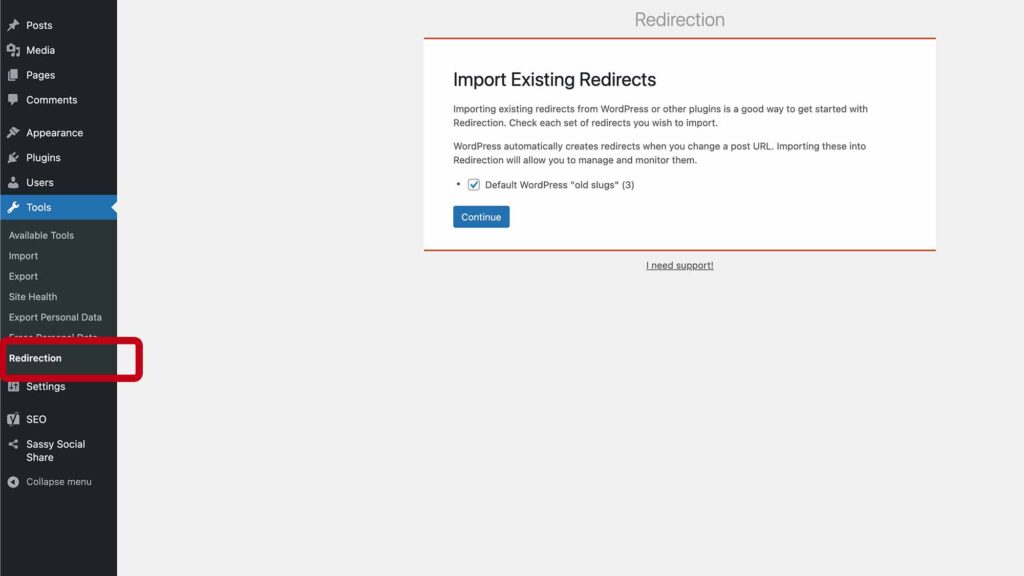
- When you reach the “Import Existing Redirects” page, do not click “continue.”
- Rather, on the left navigation bar of the admin menu, click the newly added “Redirection” link. (above the main settings link).
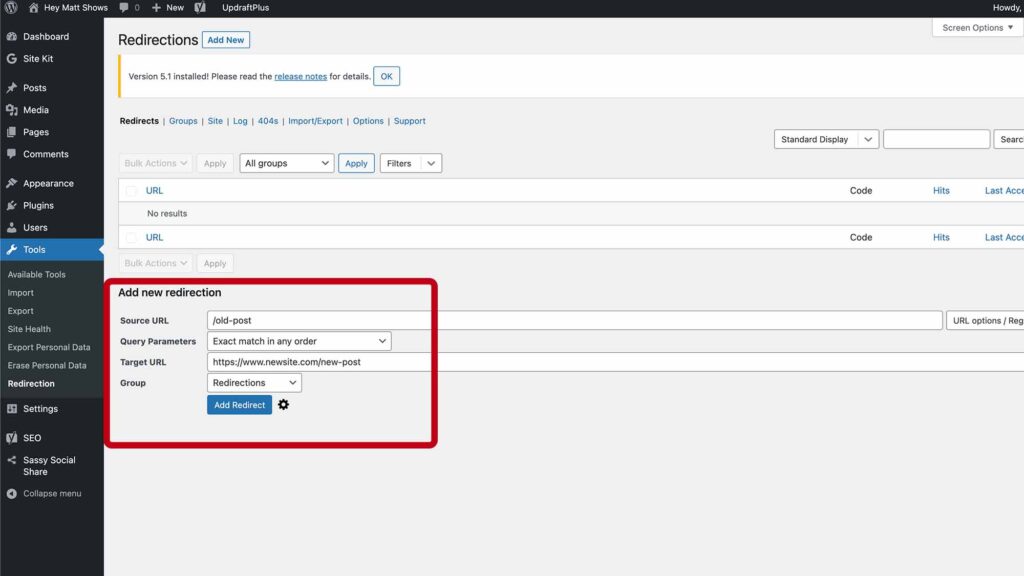
- Below the “Add new redirection” area, find the Source URL field.
- In the Source URL field, add the URL of the blog post you wish to forward (i.e. /old-post)
- In the Target URL field, add the full URL address of the blog posts new location (i.e. http://www.new-domain/old-post)
- Click “Add Redirect.” That’s it!
Test 301 Redirect
Test the redirect by opening a new tab and typing in the old URL. It should automatically redirect (forward) to the new location.
In another post, I show you how to improve your SEO by modifying your .htaccess file to redirect HTTP to HTTPS. HTTPS creates a safe and secure connection between your website and your users. Using HTTPS is the accepted best practice and provides a positive ranking signal for SEO.